Process Quickbooks Invoices
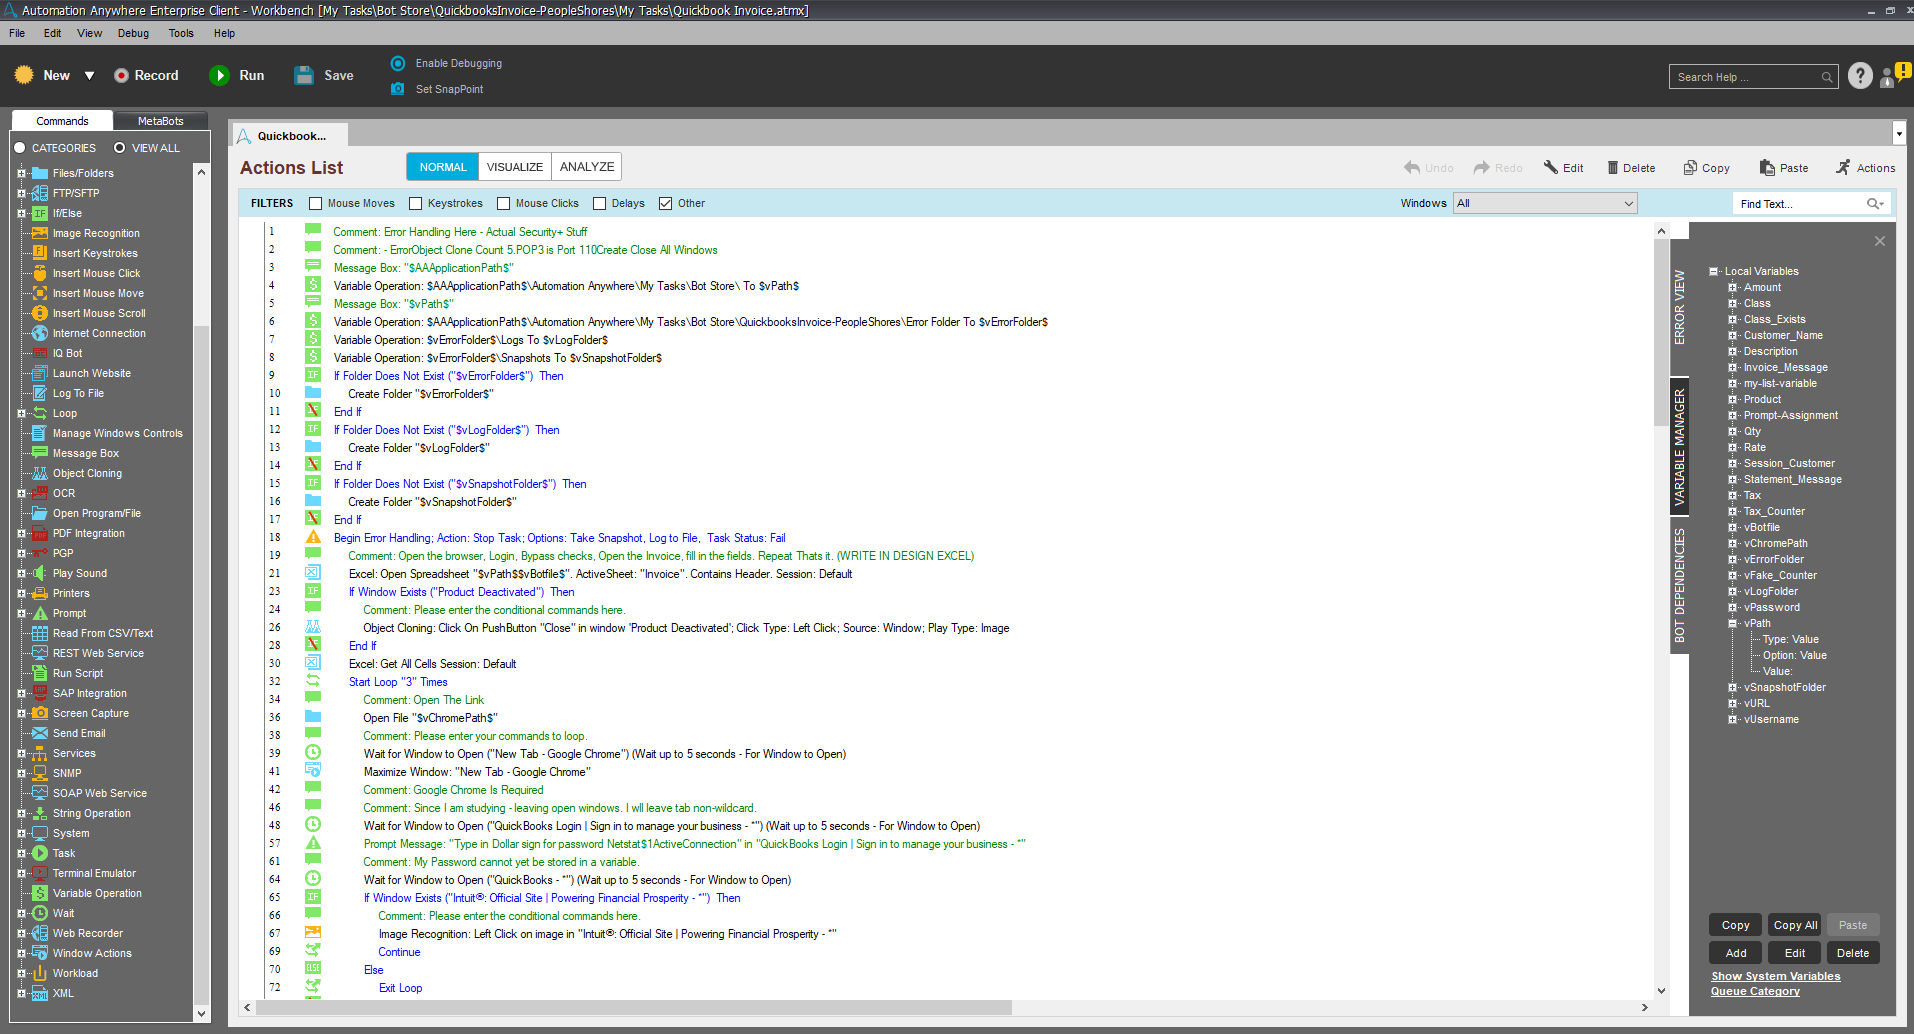
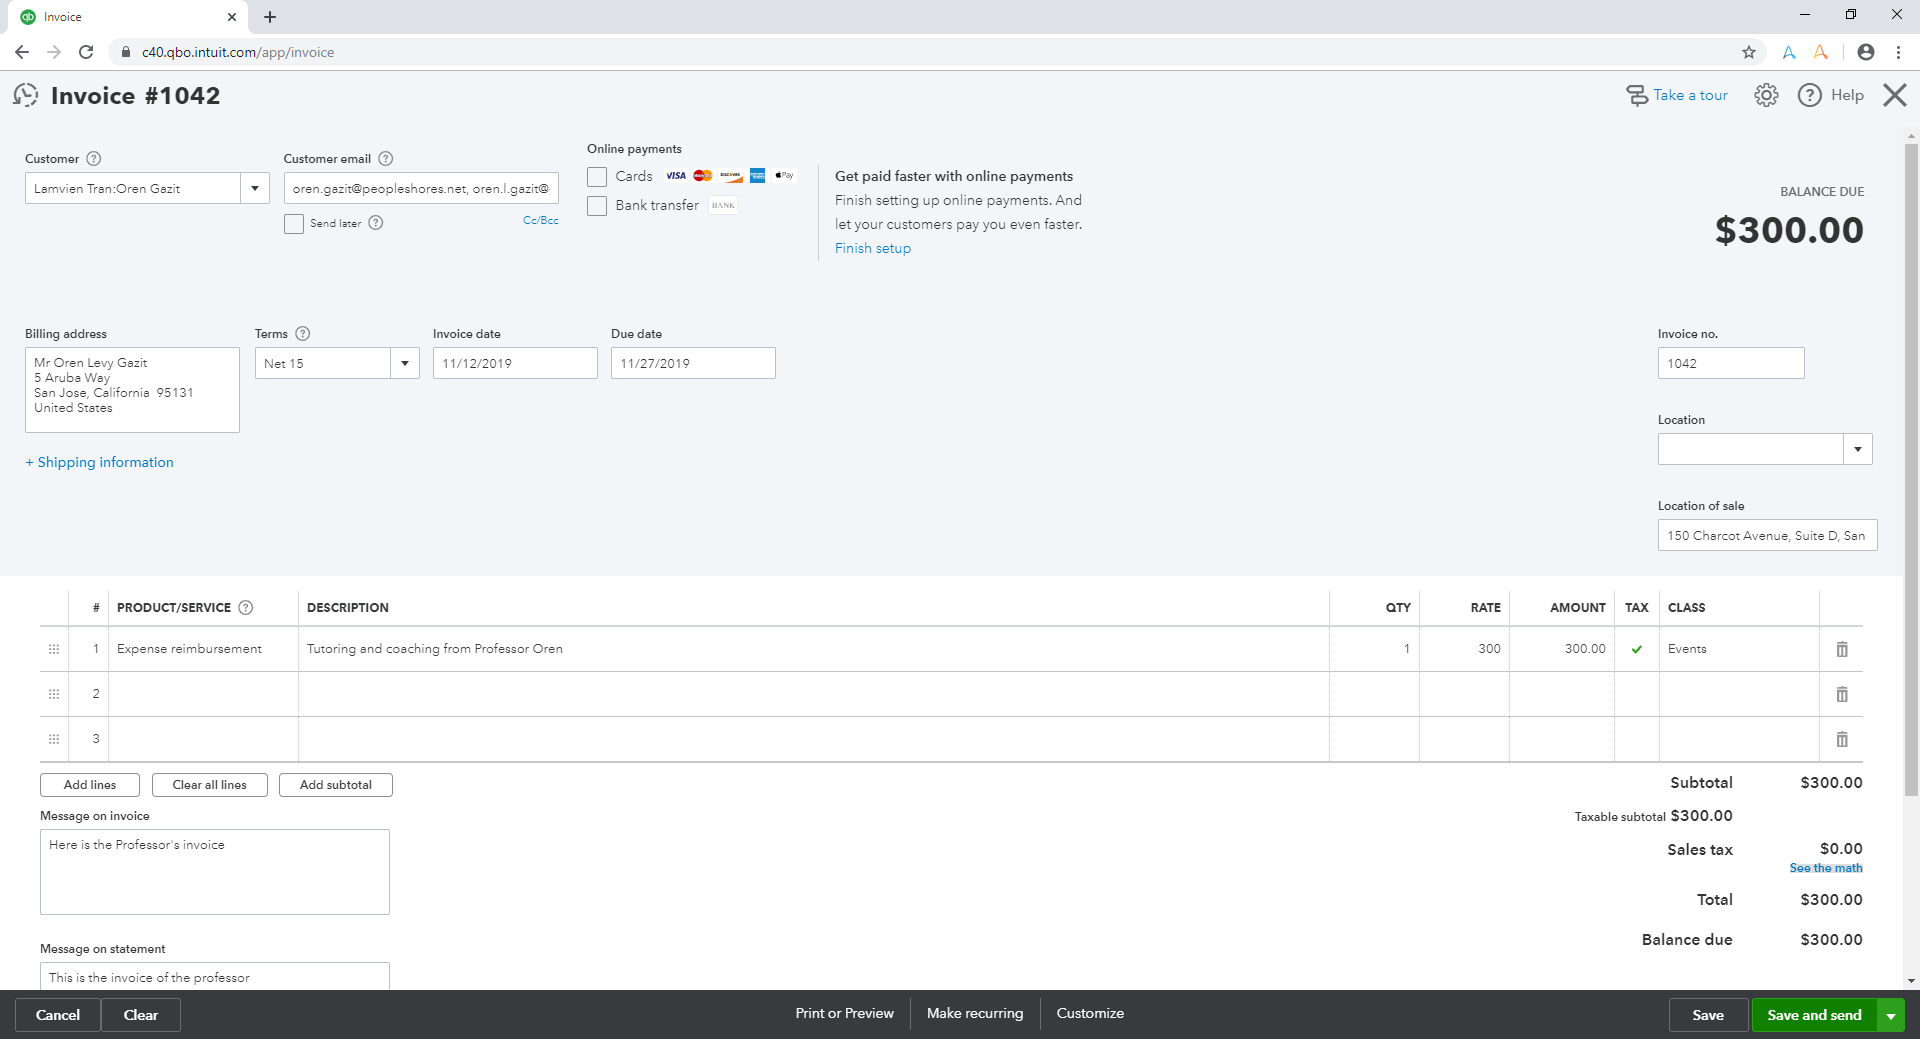
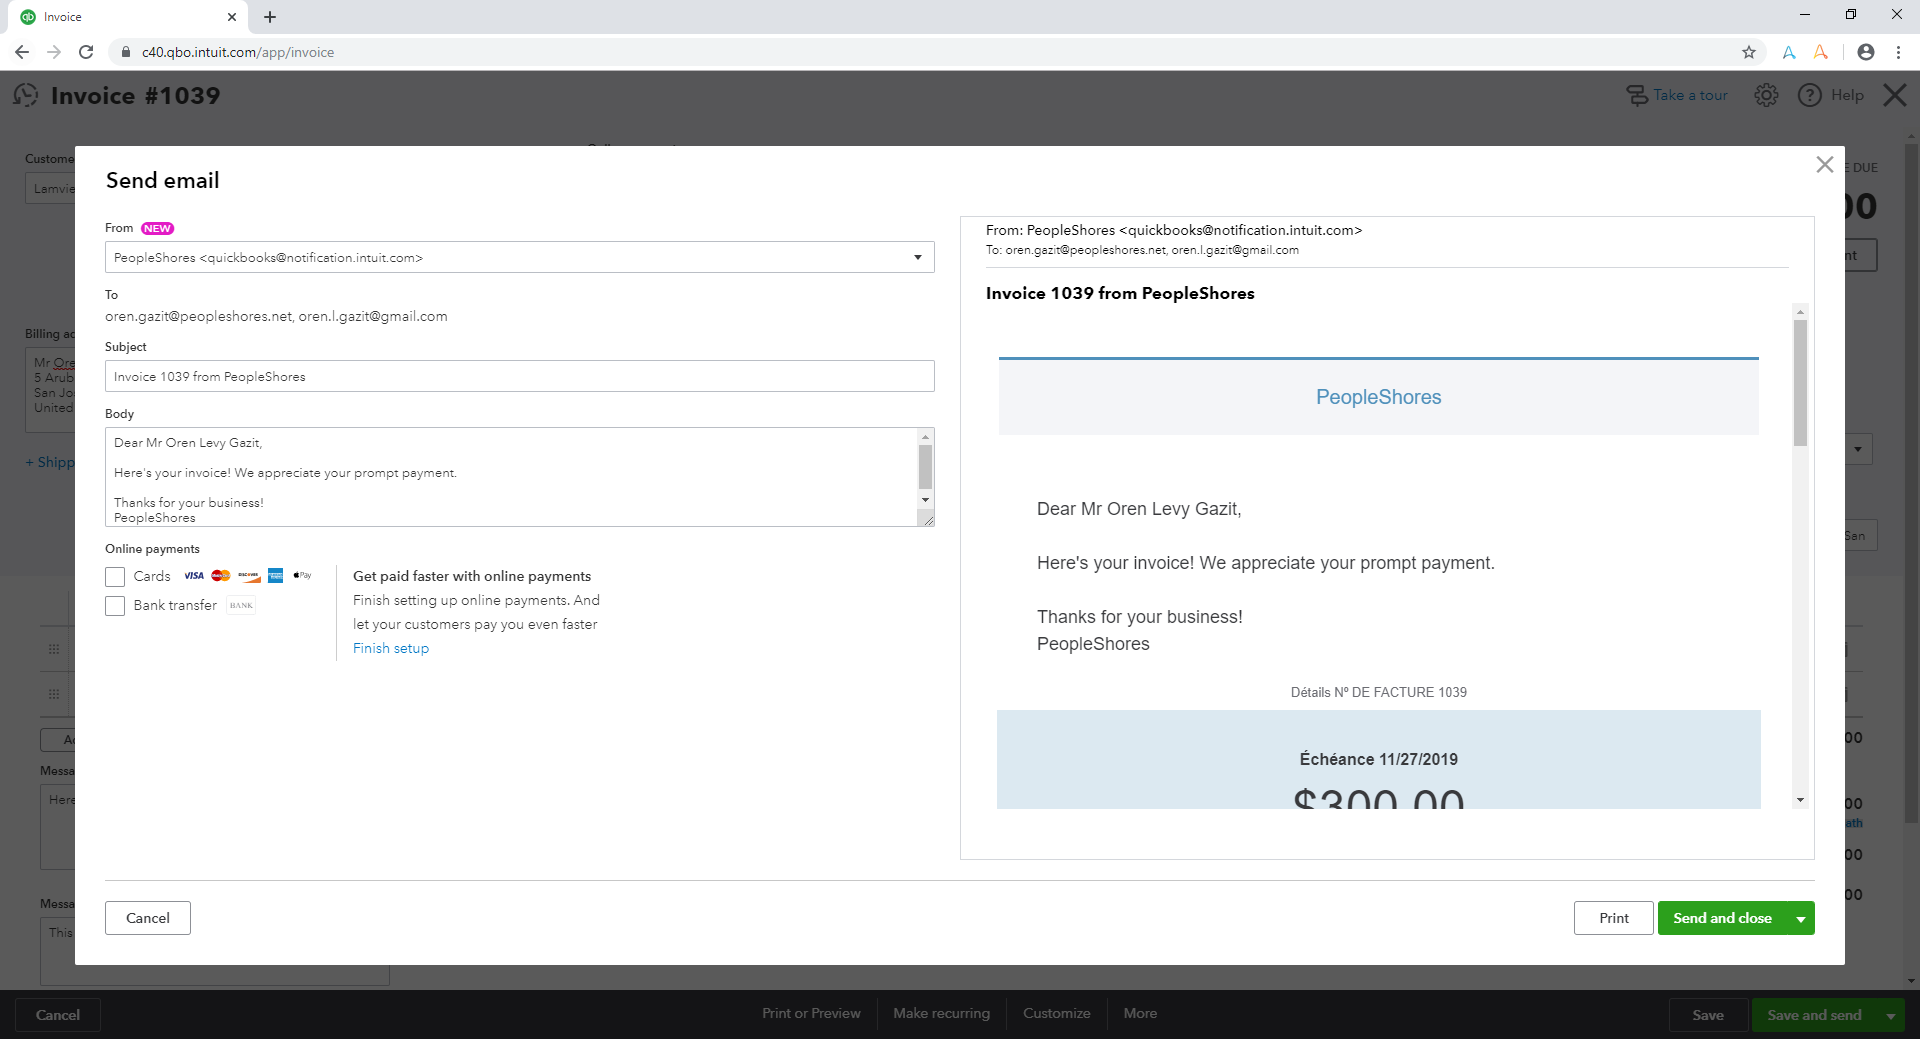
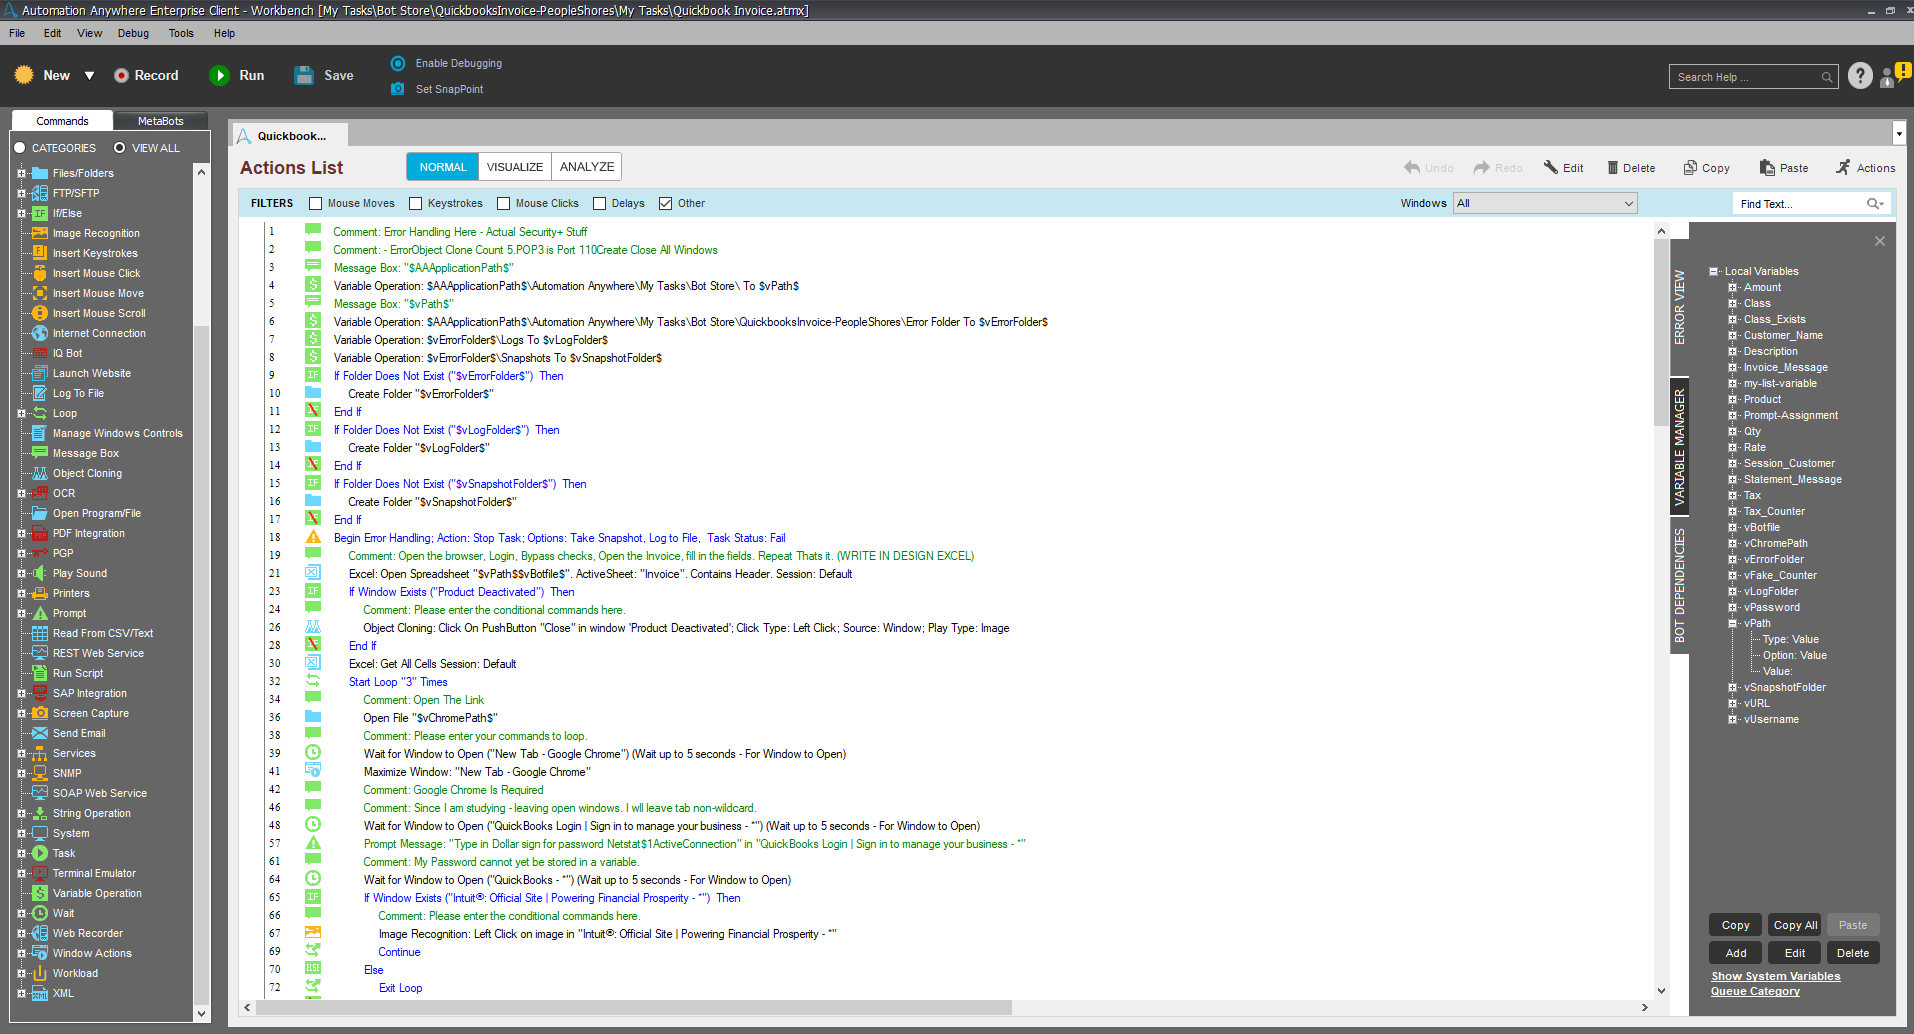
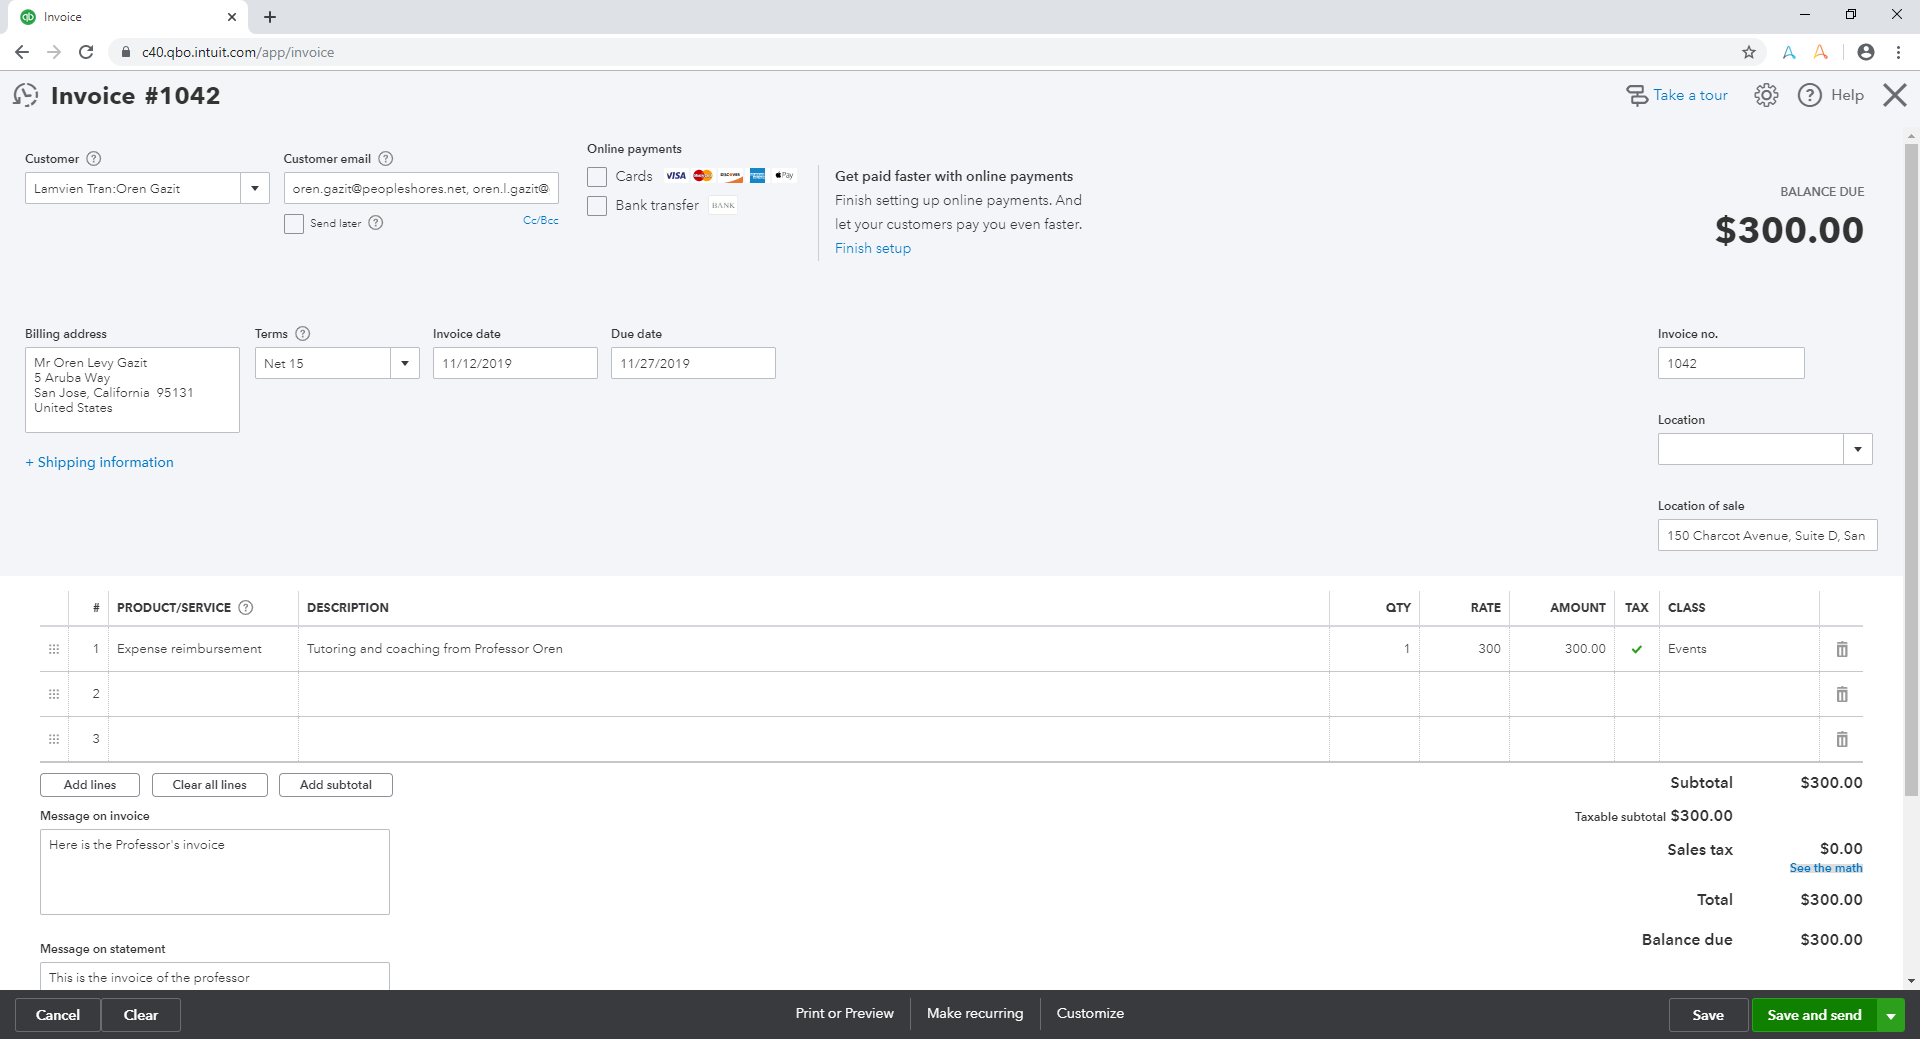
This bot takes invoice data from an Excel file, creates invoices in Quickbooks, and emails the invoices to customers.
Top Benefits
- Improve productivity by 30%
- Fast, efficient invoice processing
- Accurate audits of invoice delivery
- Scalable and customizable invoicing
Tasks
- Read and validate Excel files to get customer details
- Process multiple customers with many products
- Process rates and quantities in each customer field
- Add additional details to each invoice
Teams must process hundreds of invoices for customers. Use this bot to automate the process and spend your time on other tasks instead.
This bot takes invoice data from an Excel file, creates invoices in Quickbooks, and emails the invoices to customers.
The data used for the Excel spreadsheet must exist within the database, and that must have a valid email address already present. If it does not, the bot will close and move on to the next row. Accuracy is extremely important for the inputs in the Excel file.
Each customer will have their own sheet within the Excel file. Every customer will follow a specific template listed in that Excel file for the bot to run correctly. Error Handling use cases are present for missing or improper fields, so the bot will be able to continue running even when one record has an error.
This also includes the existence of classes. If a class does not exist, it must be noted within the spreadsheet. There is a readme file with additional details
Free
- Applications
-


- Business Process
- Finance & AccountingInventory ManagementOperations
- Category
- Artificial IntelligenceCognitive AutomationProductivity
- Downloads
- 47
- Vendor
- Automation Type
- Bot
- Last Updated
- December 7, 2020
- First Published
- November 13, 2019
- Platform
- 11.3
- Community Version
- 11.3.1
- ReadMe
- ReadMe
- Support
- Bot Security Program
-
 Level 1
Setup Process
Install
Download the Bot and follow the instructions to install it in your AAE Control Room.
Configure
Open the Bot to configure your username and other settings the Bot will need (see the Installation Guide or ReadMe for details.)
Run
That's it - now the Bot is ready to get going!
Requirements and Inputs
- Google Chrome and Plugin
- Excel
- Customer Data
- Manually Change your username and password
- Quickbooks
- Existing customer name and contact inside Quickbooks database


